Grafting experiments
- 2014-04-01
- By Jen
- Posted in Let's Grow
 I was working on trying to learn grafting today. I did some last year but could not tell completely my rate of success (or lack of it) because the deer kept eating off the leaves on the rootstocks and ended up killing the large majority of them. I did have a graft take for a Gracious plum and I planted it out. I was looking at it today and we will see if it survived soon. I must say, the graft union is not a pleasant looking thing, but it will heal over and be unnoticable in time.
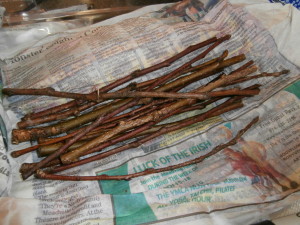
Scionwood is dormant cuttings from last year’s growth. For each graft, you need a piece with 2 – 3 buds on it. Often, a cutting can yield several grafting pieces. The picture above is of some rootstock.
Rootstock is selected for various reasons. It could be a combination of wanting to dwarf the final tree size, it’s ability to deal better with certain soil conditions, vigor in growth or disease resistance.
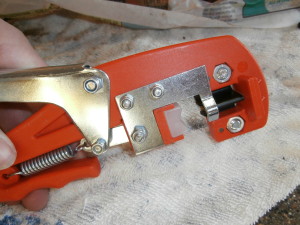
Back to the project on this evening’s agenda. Today I received some much coveted Granny Smith Apple scionwood and tonight I got to work on grafting it onto some domestic apple rootstock, which will yield a standard size tree. Due to the varying thicknesses of the scionwood, I had to use various techniques. First, I broke out a new tool to try that will make saddle and omega grafts and will also do bud grafts (which I will have to be patient a few more months to try out).
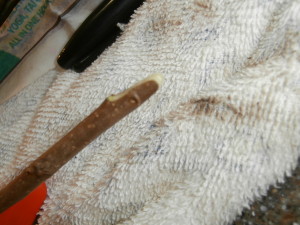
I did find that for this tool to be successful, I needed a larger gage (diameter) of scionwood and rootstock and they really needed to match closely on size. I stuck with the saddle style cut when using this tool for now. On the rootstock, the cut looks like it is domed up and on the scionwood, it is a U shape. The scionwood then sits like a saddle over the rootstock.
When putting the two pieces together, I had to be careful not to touch the cut surfaces with my hands or this could impact the ability of the graft to take. On each cut piece, there is an area right under the bark that is light green. This is known as the cambium layer and is where the “active growth” cells are located. When aligning the scionwood to the rootstock, I needed to make sure that the cambium layer of each line up.
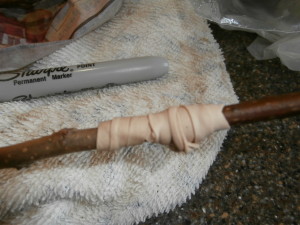
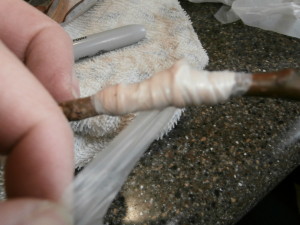
After nesting the two pieces together I wrapped the graft union with a rubber band to help to hold the union tight and prevent it from shifting while healing together the joint. This rubber band will be removed once the graft takes so that the joint doesn’t end up being girdled.
Next, it was time to add an extra layer of protection, to keep the water out of the joint and to protect it from drying out. Some people use standard wax for this process, but I use a product that is like a stretchy wax like sheet which I cut into strips and wrap completely over the rubber band.
Finally I labeled the tree (since I had several different varieties that I was working with) and then potted them up temporarily. They will need to be protected during the healing stage and planted out and protected if they take. Now, it will be like watching paint dry, trying to be patient while waiting to see if they take. Wish me luck!
